In the world of baking, the quest for the perfect cake never ends. Among the myriad of flavors that hold a special place in our hearts, red velvet stands out with its vibrant color and unique taste. However, not everyone has the time or confidence to whip up a cake from scratch. That’s where the magic of cake mix comes into play. But what if I told you that there’s a way to transform that box mix into a dessert that tastes as if it came straight from a bakery? Yes, you heard it right! This article is your golden ticket to elevating a simple red velvet cake mix to new heights. So, buckle up as we dive into the secrets of making your boxed cake mix taste homemade, ensuring your next dessert is not just good, but spectacular.
Introduction to Red Velvet Cake Mix
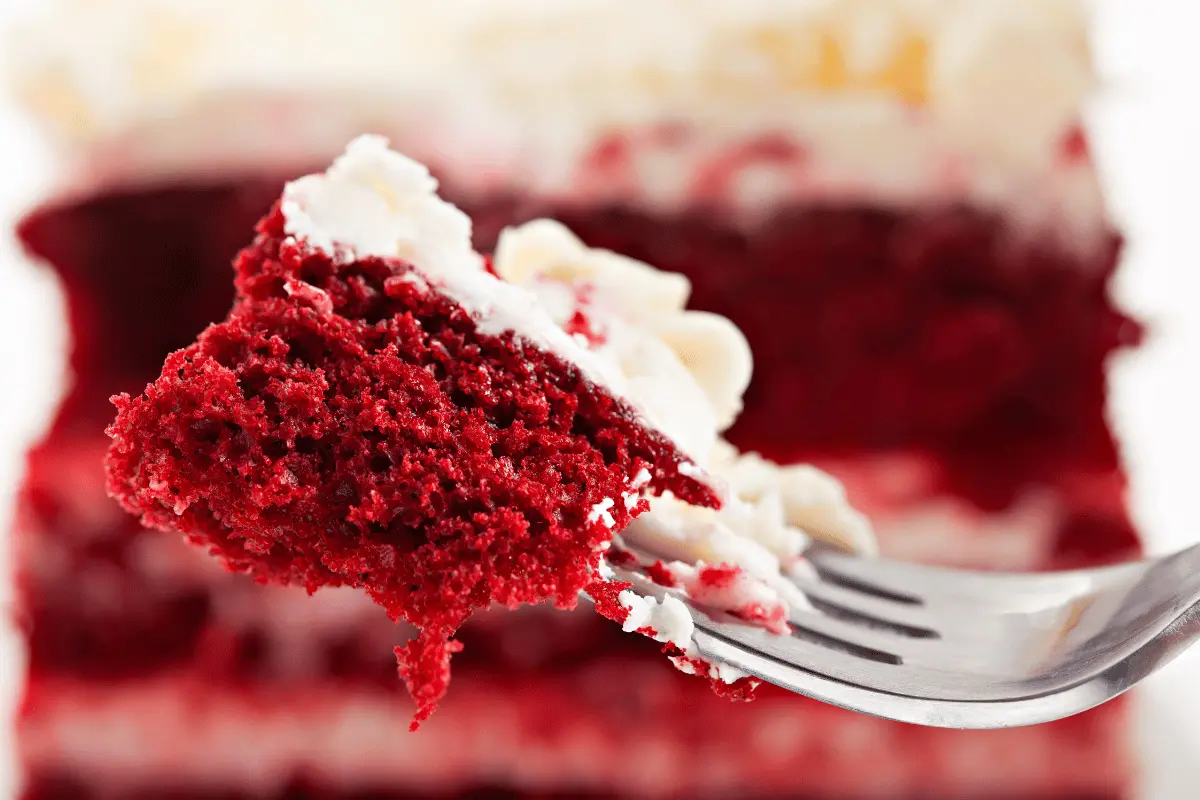
Ah, red velvet cake—a dessert that dances between the realms of vanilla and chocolate, cloaked in a mesmerizing red hue that’s hard to ignore. Its origins are as rich as its flavor, tracing back to the early 20th century, where it was a symbol of luxury and indulgence. Fast forward to today, and red velvet has found its way into the hearts (and stomachs) of cake lovers everywhere, with the convenience of box mixes making it more accessible than ever.
But let’s face it, while box mixes are a godsend for their convenience and reliability, they often lack that homemade taste and texture that can turn a good cake into a great one. Fear not, for with a few tweaks and secret ingredients, you can elevate your red velvet cake mix beyond its humble beginnings.
The journey to a more delicious red velvet cake begins with understanding what makes it unique. At its core, red velvet is a celebration of contrast—soft yet dense, sweet with a hint of tang, and visually striking. To capture this essence, we’ll explore how adding and adjusting certain ingredients can transform your cake from box standard to bakery special.
So, whether you’re a seasoned baker or someone looking to impress at the next family gathering, stick around. We’re about to embark on a culinary adventure that will change the way you look at red velvet cake mix. Let’s make your next cake not just easy, but unforgettable.
Why Upgrade Your Red Velvet Cake Mix?
Ever wondered why some red velvet cakes taste like they’re straight out of a gourmet bakery, while others… well, let’s just say they leave much to be desired? The secret doesn’t always lie in starting from scratch. Sometimes, it’s all about giving that box mix a little love and attention. Upgrading your red velvet cake mix isn’t just about showing off your culinary skills; it’s about transforming a simple dessert into an unforgettable experience.
The Benefits of Doctoring Cake Mix
First off, let’s talk about flavor and texture. By adding a few extra ingredients, you can significantly enhance the depth of flavor and achieve that moist, tender crumb that makes red velvet cake so irresistible. But it’s not just about taste; it’s also about pride. There’s something incredibly satisfying about presenting a cake that you’ve taken the time to elevate, knowing that it’s packed with your personal touch.
Moreover, personalizing your cake allows you to adapt it to various dietary preferences and restrictions. Whether you’re aiming for a lower-fat option or need to adjust for allergies, tweaking your cake mix can make all the difference. And let’s not forget the fun factor! Experimenting with different add-ins and flavors can turn baking into an exciting adventure rather than just another task on your to-do list.
Key Ingredients for Upgrading
So, what magic ingredients are we talking about? For starters, replacing water with buttermilk can add a richness and tanginess that’s characteristic of traditional red velvet cake. Adding an extra egg (or even just an egg yolk) can enrich the cake’s flavor and improve its texture. A touch of unsweetened cocoa powder can deepen the chocolate flavor without overpowering the cake.
But why stop there? A dollop of sour cream or plain Greek yogurt can make your cake unbelievably moist. And for those looking to enhance the cake’s homemade feel, a splash of vanilla extract and a pinch of salt can round out the flavors beautifully.
In essence, upgrading your red velvet cake mix is about more than just making a cake; it’s about crafting an experience. It’s about taking something ordinary and making it extraordinary with just a few simple tweaks. So, why settle for a good cake when you can make a great one? Stay tuned as we dive into the nitty-gritty of doctoring your cake mix, ensuring your next red velvet cake is not just baked, but masterfully created.

Ingredients to Elevate Your Cake
Diving into the heart of transforming a basic red velvet cake mix into a culinary masterpiece, it’s crucial to focus on the ingredients that make all the difference. These aren’t just any ingredients; they’re the secret weapons that will elevate your cake from “just okay” to “absolutely amazing.” Let’s break down these game-changers and understand how each contributes to creating a more delicious, more memorable cake.
Additional Wet Ingredients
- Buttermilk: Swapping water for buttermilk is a game-changer. This tangy liquid not only adds moisture but also activates the baking soda, resulting in a lighter, fluffier cake. Its acidity balances the sweetness, giving your cake that authentic red velvet taste.
- Sour Cream or Plain Greek Yogurt: Adding sour cream or Greek yogurt is like giving your cake a moisture boost. These ingredients add richness and ensure your cake stays moist and tender for days. Plus, their subtle tang complements the buttermilk, enhancing the cake’s overall flavor profile.
Dry Ingredients Adjustments
- Cocoa Powder: A tablespoon or two of unsweetened cocoa powder can deepen the chocolate flavor without turning your red velvet into a chocolate cake. It’s all about finding that perfect balance.
- All-Purpose Flour: A little extra flour can help stabilize the cake, especially if you’re adding more wet ingredients. This helps maintain a good structure, so your cake is firm yet soft.
Flavor Enhancers
- Vanilla Extract: A splash of good quality vanilla extract can add depth to your cake’s flavor. It’s a simple addition that makes a world of difference, giving your cake a warm, complex aroma.
- Food Coloring: To achieve that iconic red velvet color, a high-quality food coloring is essential. Opt for gel or paste food coloring for a vibrant color without adding too much liquid to your batter.
By carefully selecting and incorporating these ingredients, you’re not just baking a cake; you’re crafting an experience. Each element plays a crucial role in transforming your red velvet cake mix into a dessert that’s as delightful to eat as it is to present. With these upgrades, your cake will not only taste better but will also boast a texture and appearance that scream gourmet, all while keeping the process simple and enjoyable.
In the next section, we’ll walk through the step-by-step process of doctoring your red velvet cake mix, ensuring that every bite is a testament to your culinary creativity. Stay tuned, as we’re about to turn that box mix into a show-stopping masterpiece.
Preparation and Baking Tips
Transforming a humble box of red velvet cake mix into a delectable masterpiece doesn’t stop at just adding a few extra ingredients. The way you prepare and bake your cake plays a crucial role in achieving that perfect texture and flavor. So, let’s dive into some preparation and baking tips that will ensure your upgraded red velvet cake is nothing short of spectacular.
Mixing Techniques for a Smooth Batter
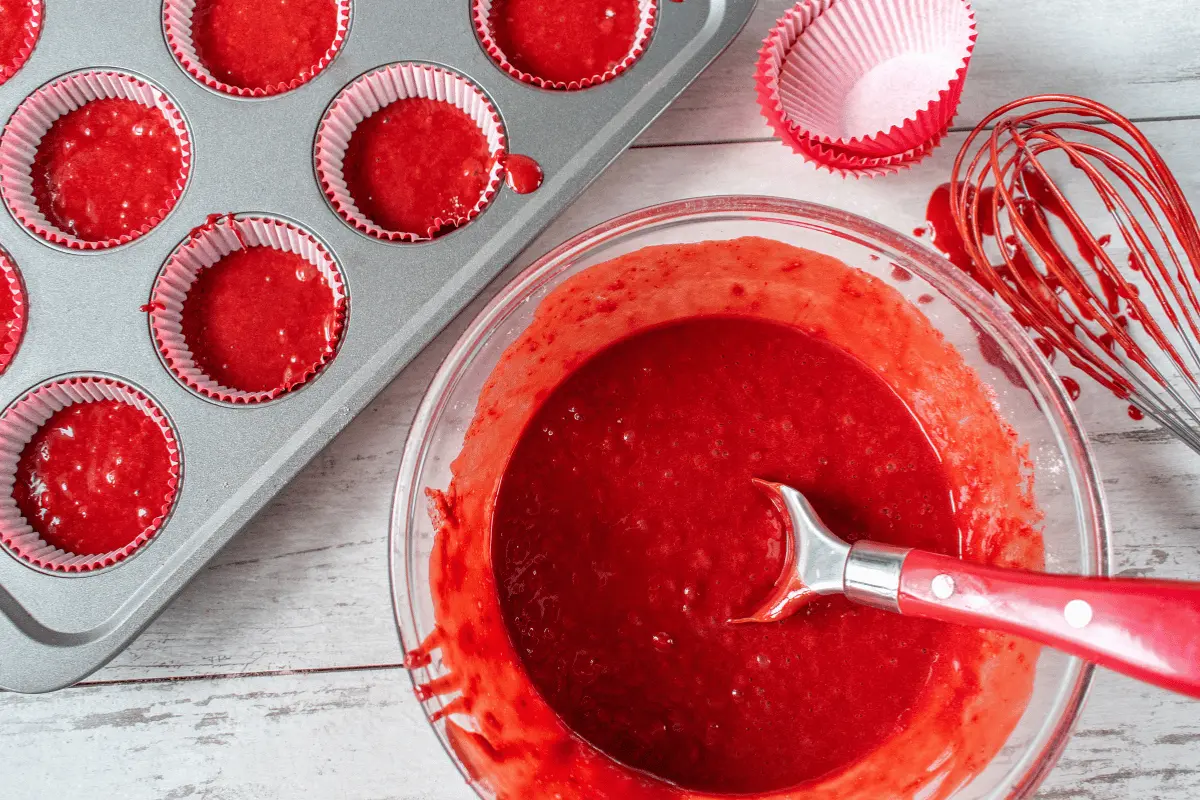
First things first, achieving a smooth batter is paramount. Begin by mixing your dry ingredients separately to ensure the cocoa powder, flour, and any additional dry enhancements are evenly distributed. When it’s time to combine them with your wet ingredients, do so gradually. This step-by-step mixing ensures each ingredient is fully incorporated without overmixing, which can lead to a dense cake.
Baking Temperature and Time Adjustments
While the instructions on the box provide a good starting point, a slight reduction in temperature can make a world of difference. Lowering the oven temperature by 25°F and extending the baking time slightly allows the cake to bake more evenly, reducing the risk of a domed top or dry edges. Keep a close eye on your cake as it bakes, and start checking for doneness a few minutes before the suggested time. A toothpick inserted into the center should come out clean or with a few moist crumbs attached.
Cooling and Frosting Tips
Patience is a virtue, especially when it comes to cooling your cake. Allow it to cool in the pan on a wire rack for about 10 minutes before attempting to remove it. This waiting period helps the cake set and reduces the risk of it falling apart. Once it’s cool enough to handle, gently turn it out onto the wire rack to cool completely. Rushing this process can lead to a crumbly mess, so take your time.
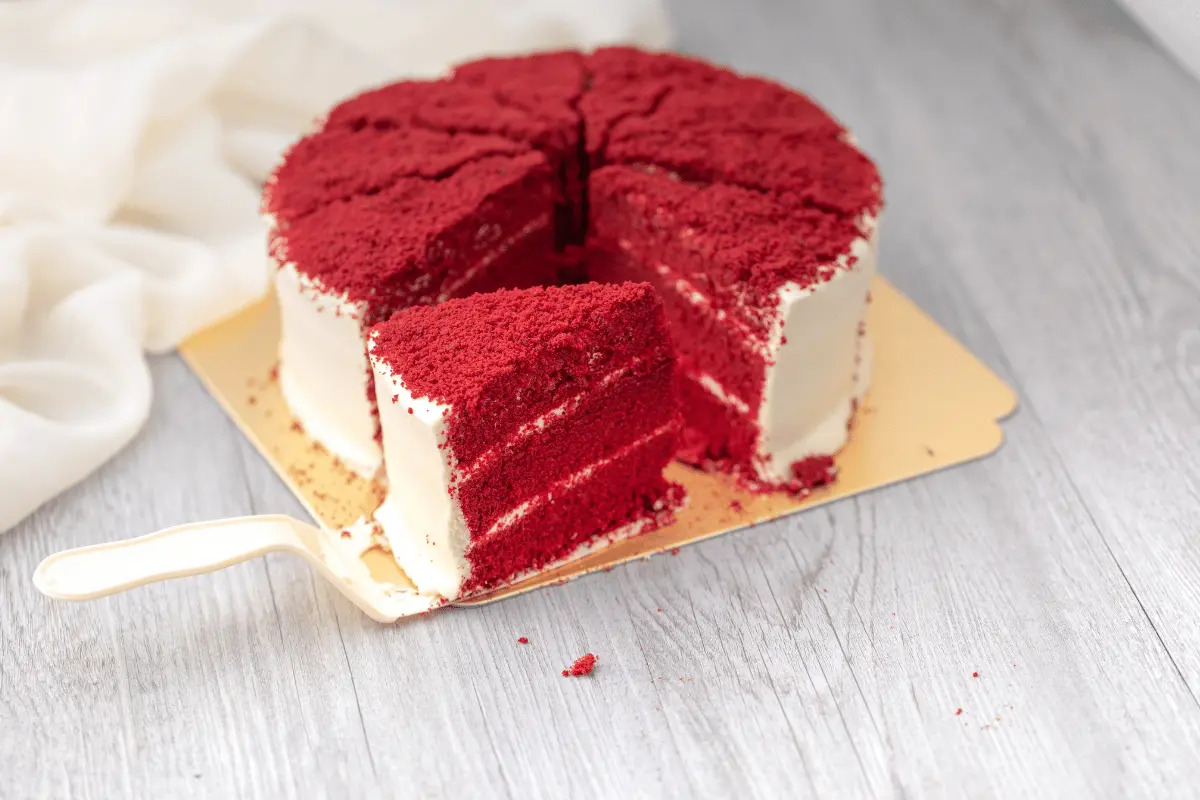
When your cake is completely cooled, it’s time to frost. If you’re aiming for a professional look, consider applying a crumb coat first. This thin layer of frosting catches any loose crumbs and creates a smooth base for your final layer of frosting. Chill the cake after applying the crumb coat to set it, then add your final layer of frosting. For an extra touch of elegance, use a piping bag to decorate the cake with swirls or rosettes.
By following these preparation and baking tips, you’re well on your way to creating an upgraded red velvet cake that’s as beautiful as it is delicious. Remember, baking is both an art and a science, so don’t be afraid to experiment and make adjustments based on your oven and preferences. Stay tuned for more insights on how to bring your baking creations to the next level!

Decoration Ideas
Once your red velvet cake is baked to perfection, it’s time to let your creativity shine through with some decoration ideas. Decorating not only enhances the visual appeal of your cake but also adds an extra layer of flavor and texture. Whether you’re preparing for a special occasion or simply want to treat yourself, these decorating tips will help you turn your upgraded red velvet cake into a show-stopping masterpiece.
Frosting Options
The classic choice for red velvet cake is cream cheese frosting, with its tangy flavor perfectly complementing the cake’s sweetness. For a twist on the traditional, consider a Swiss meringue buttercream. This silky-smooth frosting is less sweet than American buttercream and can be a delightful contrast to the rich cake. To make it, you’ll need to gently heat egg whites and sugar before whipping them into a glossy meringue, then gradually add butter until the mixture becomes smooth and creamy.
Color Gradients and Thematic Decorations
For a visually stunning cake, play with color gradients using your frosting. Start with the darkest shade at the bottom and gradually blend into lighter shades or even white as you move up the cake. This technique creates a beautiful ombre effect that’s sure to impress. If you’re celebrating a specific occasion, consider thematic decorations such as edible flowers for a spring gathering, or red and green sprinkles for a festive holiday touch.
Creative Decorating Techniques
Don’t be afraid to get creative with your decorating techniques. Use a piping bag fitted with a star tip to create rosettes or stars all over the cake for a textured look. Alternatively, a simple offset spatula can be used to create swirls or waves in the frosting for a rustic, yet elegant finish. For an added touch of whimsy, top your cake with chocolate shavings, fresh berries, or even homemade cake crumbs for extra crunch.
Decorating your red velvet cake is an opportunity to express your personal style and add that final touch of magic. Whether you opt for the elegance of smooth frosting and delicate decorations or the rustic charm of textured swirls and fresh fruit, your cake is sure to be a feast for both the eyes and the palate.
Remember, the most important ingredient in any cake is the love and care you put into it. So, have fun, experiment with different techniques, and don’t be afraid to try something new. Your perfect red velvet cake is waiting to be discovered, one decoration at a time. Stay tuned for more baking adventures and tips to elevate your culinary creations!
For those seeking a smoother, silkier texture, Swiss meringue buttercream is an exquisite choice, much like the techniques explored in our Ultimate Coconut Cake Guide.
Frequently Asked Questions
When it comes to baking, especially with an upgraded red velvet cake mix, questions abound. Whether you’re a seasoned baker or a novice eager to learn, having a few tips and tricks up your sleeve can make all the difference. Let’s dive into some of the most frequently asked questions about leveling up your red velvet cake mix, ensuring your baking journey is as smooth as your cake batter.
For more tips on achieving that perfect moist and fluffy texture, delve into our Red Velvet Cake Secrets
Can I make red velvet cake without buttermilk?
Absolutely! While buttermilk adds a lovely tang and helps create a tender crumb, you can easily make a substitute if you’re out. Simply mix one tablespoon of white vinegar or lemon juice with a cup of milk and let it sit for about 5 minutes. This mixture can be used as a one-to-one replacement for buttermilk in your cake recipe.
How do I make my cake moist and fluffy?
The secret to a moist and fluffy cake lies in a few key factors: adding moisture-enhancing ingredients like sour cream or yogurt, not overmixing your batter, and baking at the right temperature. Also, don’t forget the importance of not overbaking your cake. Keep an eye on it and perform the toothpick test a few minutes before the recommended baking time is up.
Tips for storing and freezing
To keep your red velvet cake fresh, store it in an airtight container at room temperature for up to three days. If you’ve already frosted it, popping it in the fridge can extend its life by a couple more days—just make sure to bring it to room temperature before serving for the best flavor and texture.
Freezing your cake is a fantastic way to preserve its freshness for longer. Wrap unfrosted cake layers individually in plastic wrap, then a layer of aluminum foil, and freeze for up to three months. Thaw overnight in the refrigerator before frosting and serving. This method is especially handy for making cakes in advance or saving leftovers.
By addressing these common queries, we hope to make your baking experience more enjoyable and less intimidating. Remember, baking is as much about the journey as it is about the delicious destination. So, don your apron, preheat your oven, and get ready to create a red velvet masterpiece that’s sure to impress. Stay tuned for more baking insights and inspiration!


